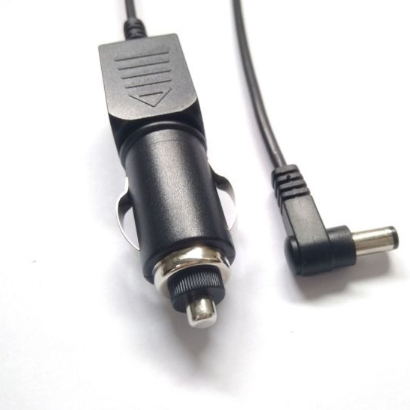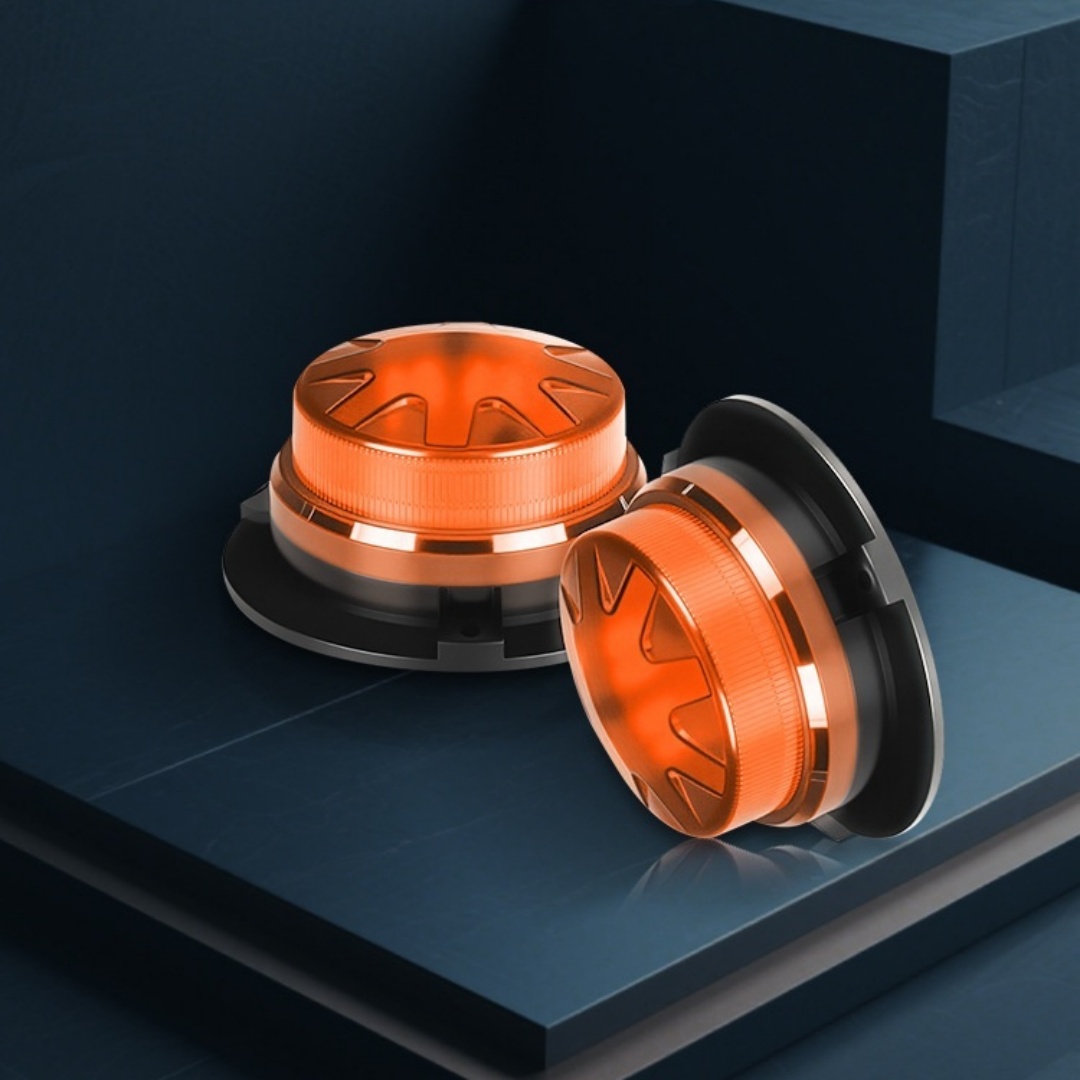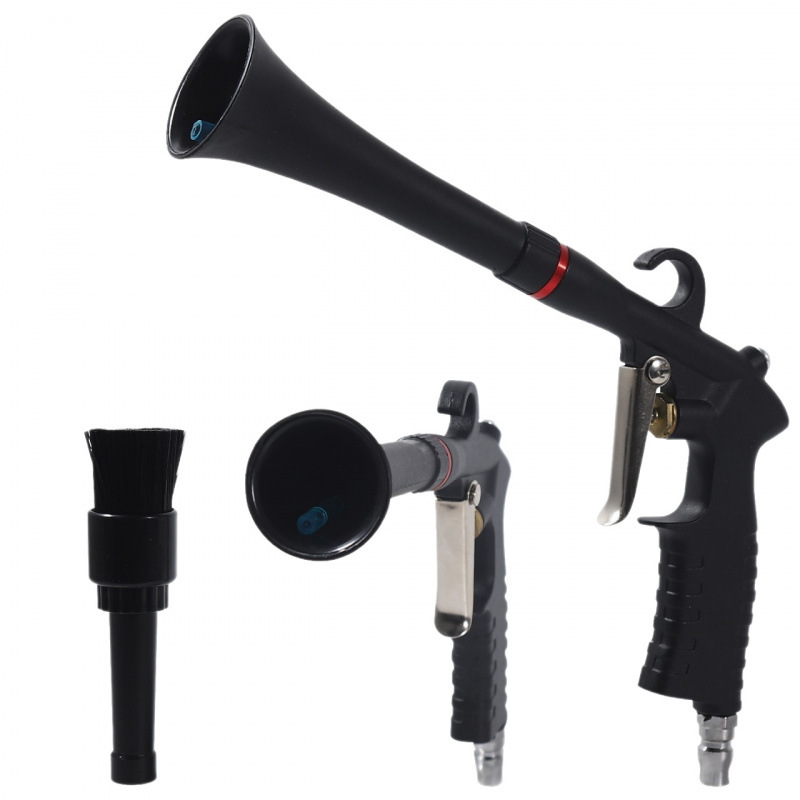
AutomotiveCar Engine Start-up And Interior Cleaning Gun Cleaning Kit
From $11.20
View variants & availability
 ORDERNSHIP
Shipping cost and delivery estimate calculated at checkout.
View return conditions and refund steps.
Track orders and manage deliveries in your account.
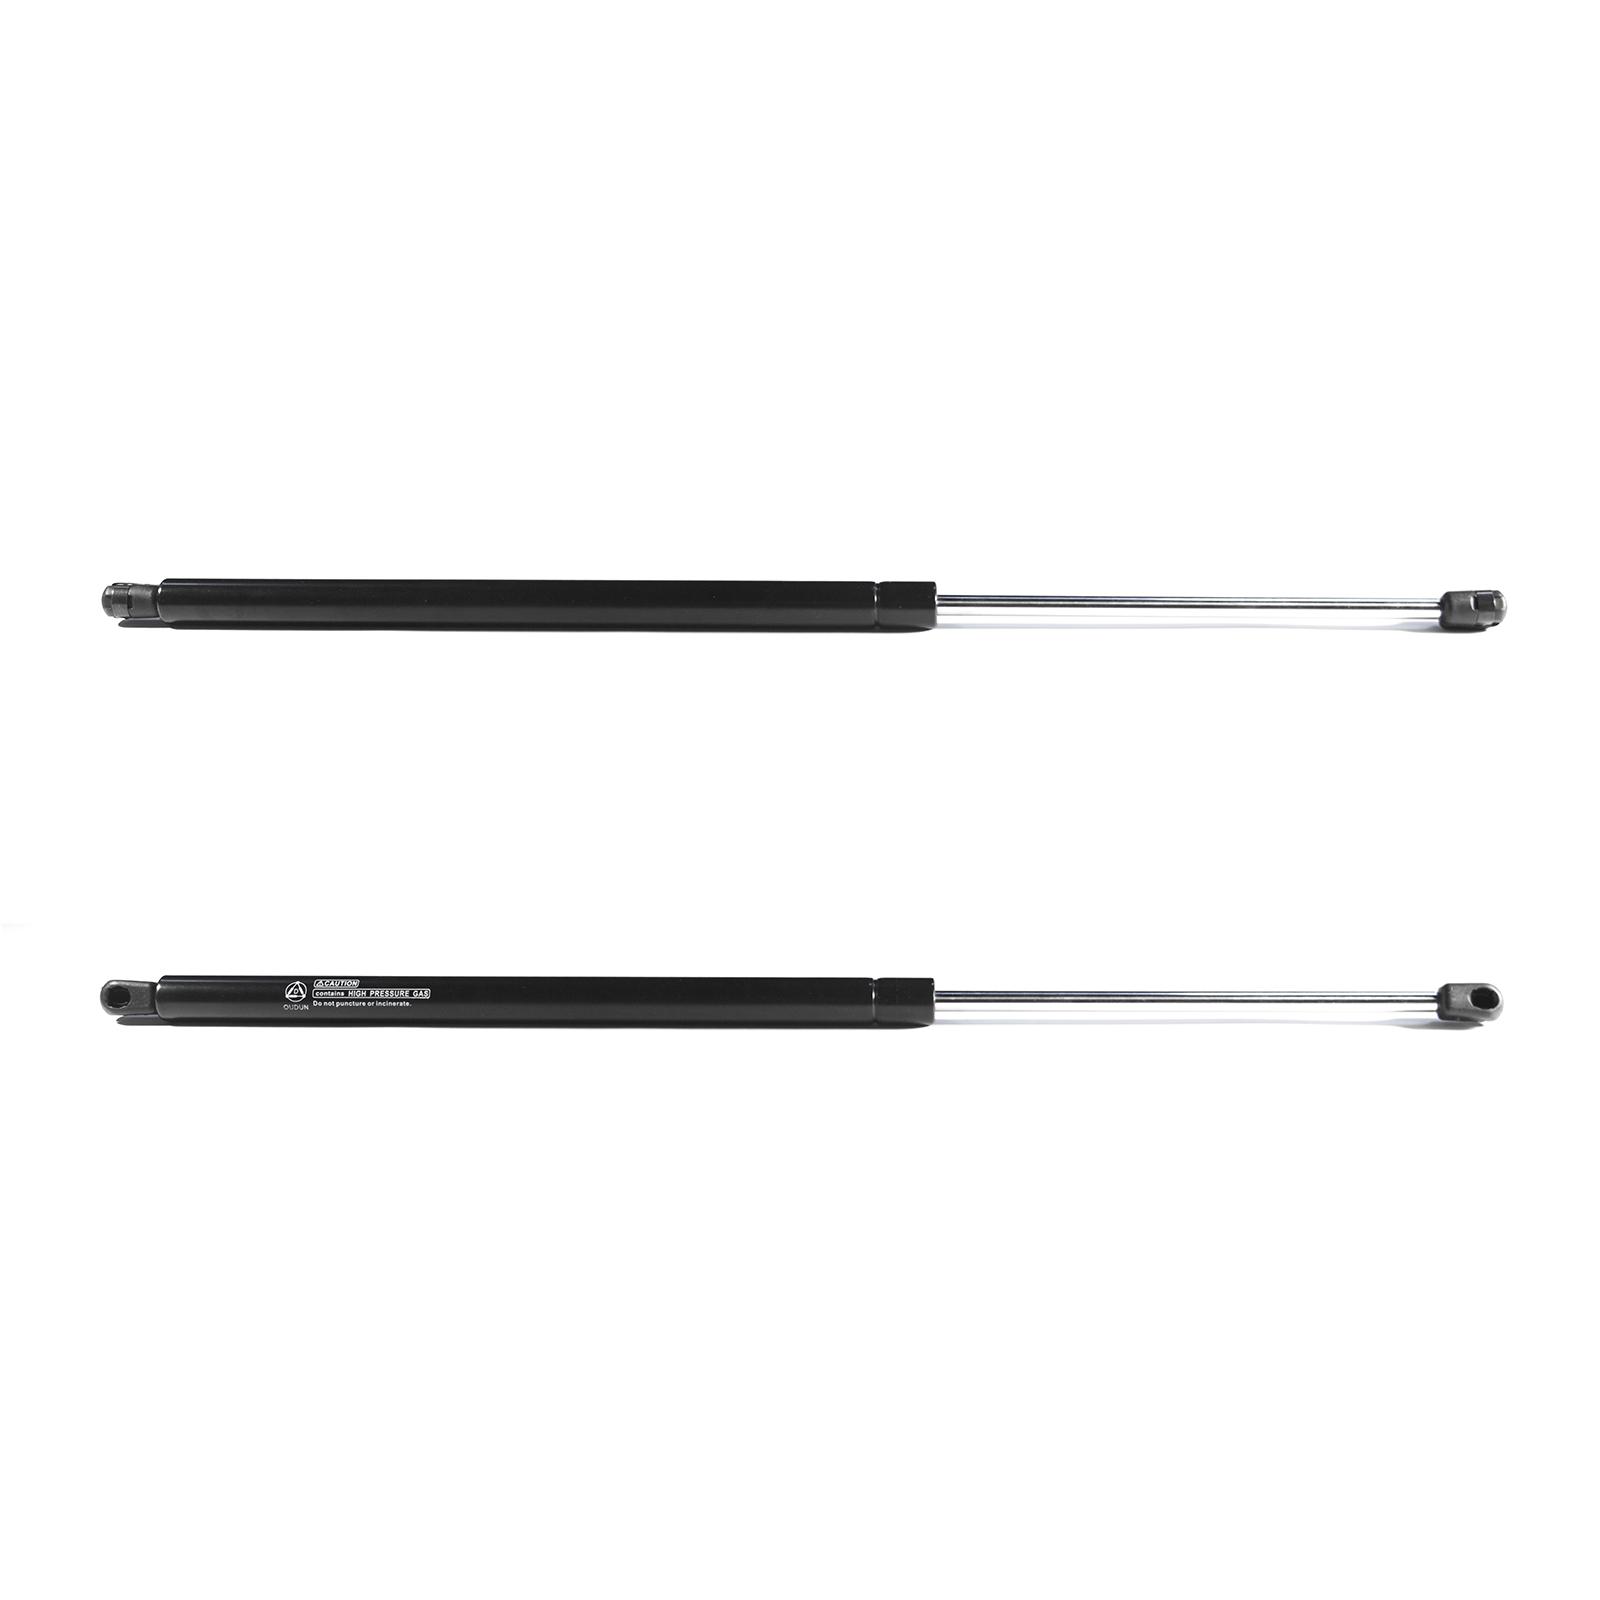
See how we use and protect your personal data.Brand Unbrand Manufacturer Part Number OD6110034,SG230056,SG230035,SG230028,15734731 Interchange Part Number 8196034,2746MW,3167MM,13947,6262,4557 Other Part Number Gas Charged Arms Damper Prop Spring Rod Pair Placement on Vehicle Rear,Left,Right Surface Finish Polished Warranty 2 Year Product Type Struts Color Black Bundle Listing Yes Fitment Type Direct Replacement Type Liftgate Material Stainless Steel Compatible Vehicle Model 2000-2006 Cadillac,Chevrolet,GMC Extended Length 24.69 inch Stroke Length 8.98 inch Compressed Length 15.71 inch Package Size 28.0*2.2*1.2 inch Return Free Return Shipping on Damaged or Defective Items Country/Region of Manufacture China Superseded Part Number OD6110034 Mounting Hardware Included No Number of Pieces 2 Fitment: 2002-2006 Cadillac Escalade 2000-2004 GMC Yukon XL1500/XL2500 2001-2004 GMC Yukon 2000 GMC Yukon (Not fit Denali) 2000-2004 Chevrolet Suburban 1500/2500 2001-2004 Chevrolet Tahoe 2000 Chevrolet Tahoe(Not fit 5.7L models) Item-offered: 1pc Rear Left Lift Support and 1pc Rear Right Lift Support Position Rear Left & Rear Right Parameters Extended Length: 24.69 inch Stroke Length: 8.98 inch Compressed Length: 15.71 inch Material Steel Warranty 2 Year's Warranty Color Black Installation Instructions Always replace both lift supports to ensure top performance and to prevent twisting caused by uneven loading. 1.Turn off: If old lift support has a window demister electrical connection, carefully disconnect the fittings. 2. Before removing old lift supports, examine any fittings supplied to determine which components must be re-used. 3. Have someone hold the hatch, bonnet, boot or rear window open while replacing the lift supports. 4. Loosen the fasteners, remove 1 end while being prepared to fight the pressure in the strut, move the end so it's away from the bodywork, remove the other end, install that end of the new 1, wrestle the other end into place and tighten up. 5. Make sure all connectors and hardware are in place, tight and secure. Reconnect electrical terminals at both ends of the gas-charged lift support, if applicable to your car. Retain plastic end caps, if applicable to your car. WARNING: Use safety stands whenever a procedure requires you to be under the vehicle. Features & Advantages
Supplier availability is checked again at checkout. Supplier stock is not reserved until fulfillment is confirmed.
Calculate available services for your destination. Transit times are estimates; customs duties may apply. Quotes are valid for 10 minutes. Delivery information